Kitematic user guide
Estimated reading time: 7 minutesLegacy desktop solution. Kitematic is a legacy solution, bundled with Docker Toolbox. We recommend updating to Docker Desktop for Mac or Docker Desktop for Windows if your system meets the requirements for one of those applications.
Overview
Kitematic is an open source project built to simplify and streamline using Docker on a Mac or Windows PC. Kitematic automates the Docker installation and setup process and provides an intuitive graphical user interface (GUI) for running Docker containers. Kitematic integrates with Docker Machine to provision a VirtualBox VM and install the Docker Engine locally on your machine.
Once installed, the Kitematic GUI launches and from the home screen you are presented with curated images that you can run instantly. You can search for any public images on Docker Hub from Kitematic just by typing in the search bar. You can use the GUI to create, run and manage your containers just by clicking on buttons. Kitematic allows you to switch back and forth between the Docker CLI and the GUI. Kitematic also automates advanced features such as managing ports and configuring volumes. You can use Kitematic to change environment variables, stream logs, and single click terminal into your Docker container all from the GUI.
First, if you haven’t yet done so, download and install Kitematic in one of the following ways:
-
Choose Kitematic from the Docker Desktop for Mac or Docker Desktop for Windows menu to get started with the Kitematic install.
-
Install Docker Toolbox (on older systems that do not meet the requirements of Docker Desktop for Mac or Docker Desktop for Windows).
-
Download Kitematic directly from the Kitematic releases page.
Start Kitematic. (On desktop systems, click on the app.)
Log in with your Docker ID
Provide your Docker ID and user name and click LOG IN or click Skip for now to browse Docker Hub as a guest.
Container list
Kitematic lists all running and stopped containers on the left side, underneath the “New Container” link.
The container list includes all containers, even those not started by Kitematic, giving you a quick over-view of the state of your Docker daemon.
You can click on any container to view its logs (the output of the main container
process), restart, stop or exec sh in that container. See
Working with a container for more details.
Creating a new container
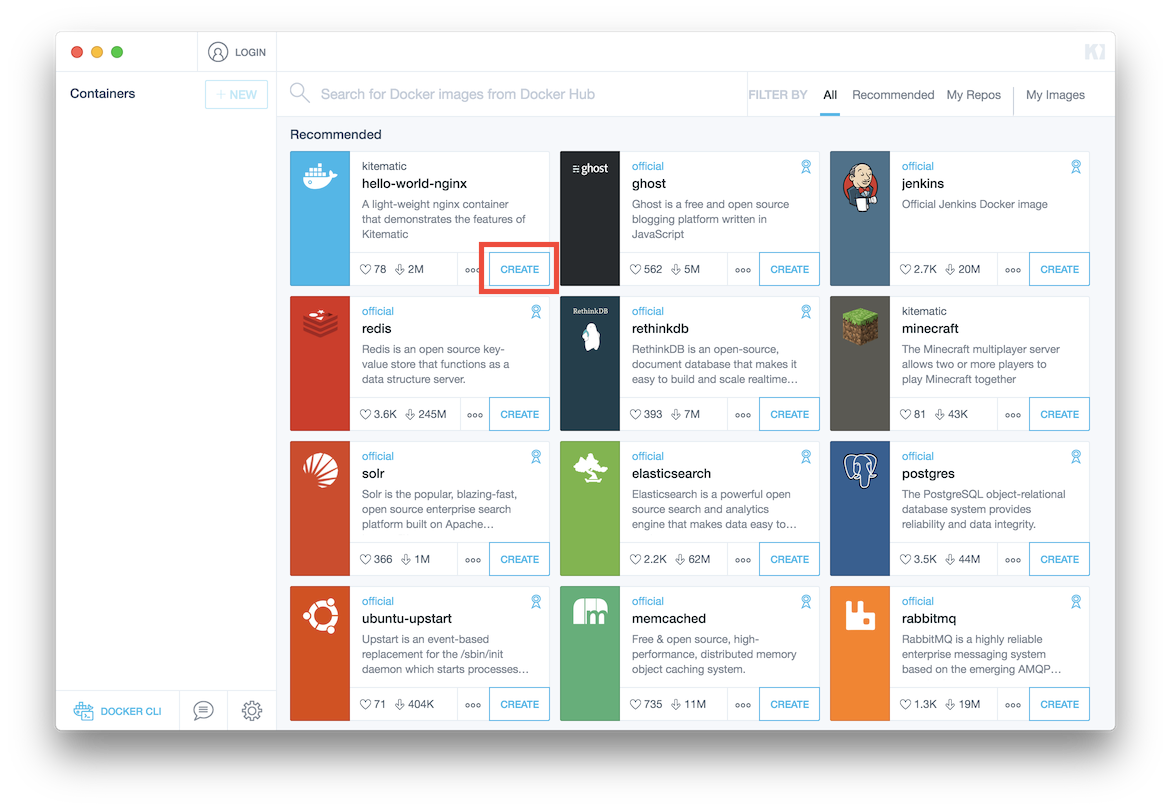
The “New Container” page lets you search for and select from images on the Docker Hub. When you’ve found the image you want to run, you can click “Create” to pull, create, and run the container.
Working with a container
If you select a non-running container, either stopped, or paused, you can “Restart” or “Stop” the container using the icons. You can also view the entire main container process’ output logs, and in the Settings section you can make changes which are used if you “Restart” this container.
By selecting a running container from the left list, you can see some state information for your container - either a preview of the HTML output for a container that has a web server, the main container process’ logs, and any container volumes that have been configured.
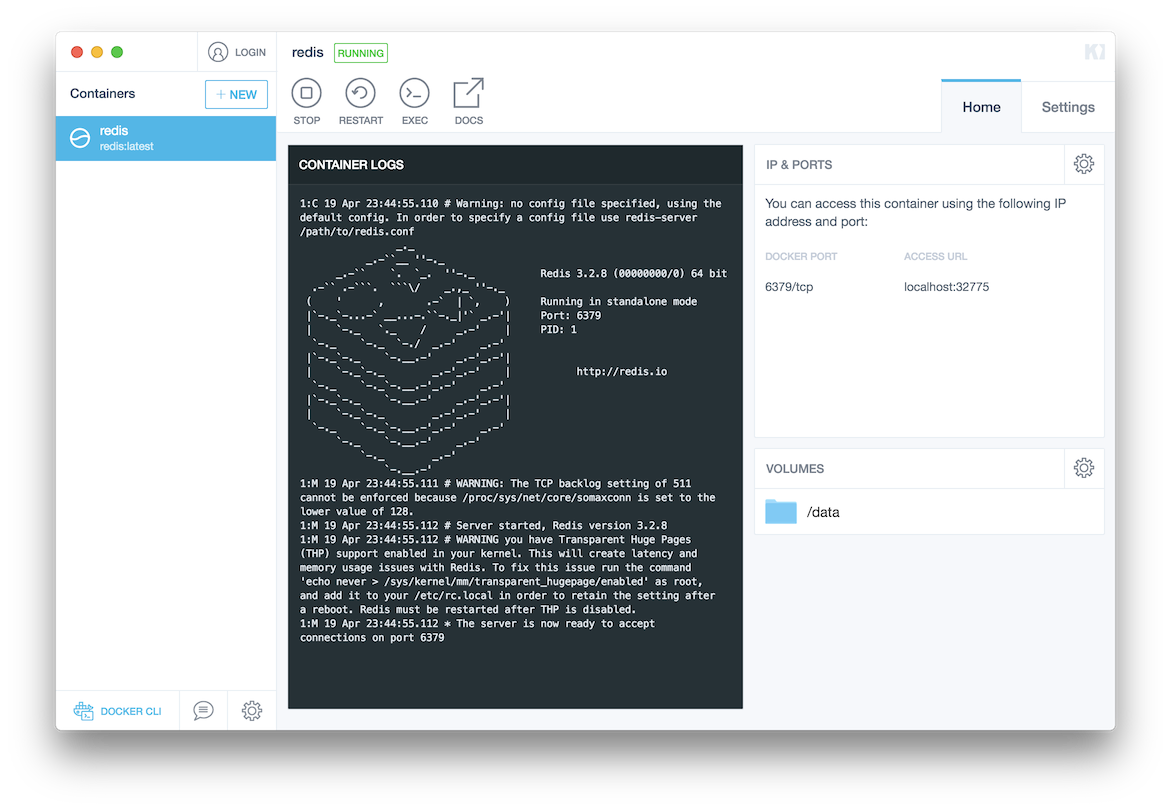
The summary page shows different things depending on the image metadata. If
a known “web” port (see below) is EXPOSED, then Kitematic assumes its a web page,
and shows a preview of the site at /. If other ports are exposed, then it
shows a list of those ports, and the Docker daemon IP and port they are mapped
to. If there are any VOLUMES, then these are shown. At minimum, the summary
screen shows the main container process’ log output.
The currently detected “web” ports are, 80, 8000, 8080, 3000, 5000,
2368, 9200, and 8983.
Viewing container logs
You can view the entire main container process’ log output either by clicking on the “Logs” preview image, or by clicking on the “Logs” tab.
You can then scroll through the logs from the current running container. Note that if you make changes to the container settings, then the container is restarted, so this resets this log view.
Starting a terminal in a container
The “Terminal” icon at the top of the container summary runs docker container exec -i -t <your container> sh.
This allows you to make quick changes, or to debug a problem.
Note: Your exec’ed
shprocess does not have the same environment settings as the main container process and its children. Get the environment commands for your shell:docker-machine env default.
Managing Volumes
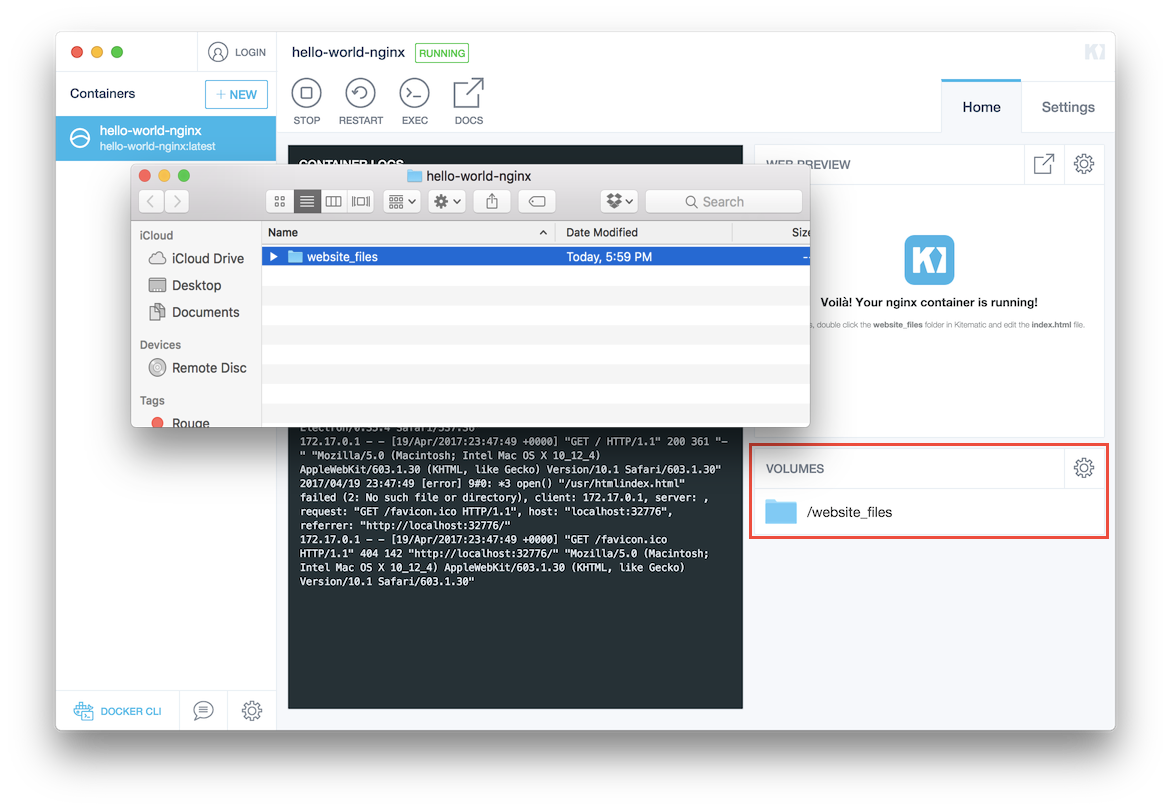
You can choose to make all of a container’s volumes mapped to directories on on your Mac by clicking on the folders in the “Edit Files” section of the container summary screen.
This allows you to manage files in volumes via the Finder.
Kitematic exposes a container’s volume data under ~/Documents/Kitematic/<container's name>/.
Quick access to this folder (or directory) is available via the app:
Note: When you “Enable all volumes to edit files in Finder”, the Docker container is stopped, removed and re-created with the new
volumesflag.
Changing Volume Directories
Let’s say you have an Nginx webserver running via Kitematic (using the
kitematic/hello-world-nginx image on DockerHub). However, you don’t want to
use the default directory created for the website_files volume. Instead, you
already have the HTML, Javascript, and CSS for your website under
~/workspace/website.
Navigate to the “Settings” tab of the container, and go to the “Volumes”. This screen allows you to set the mappings individually.
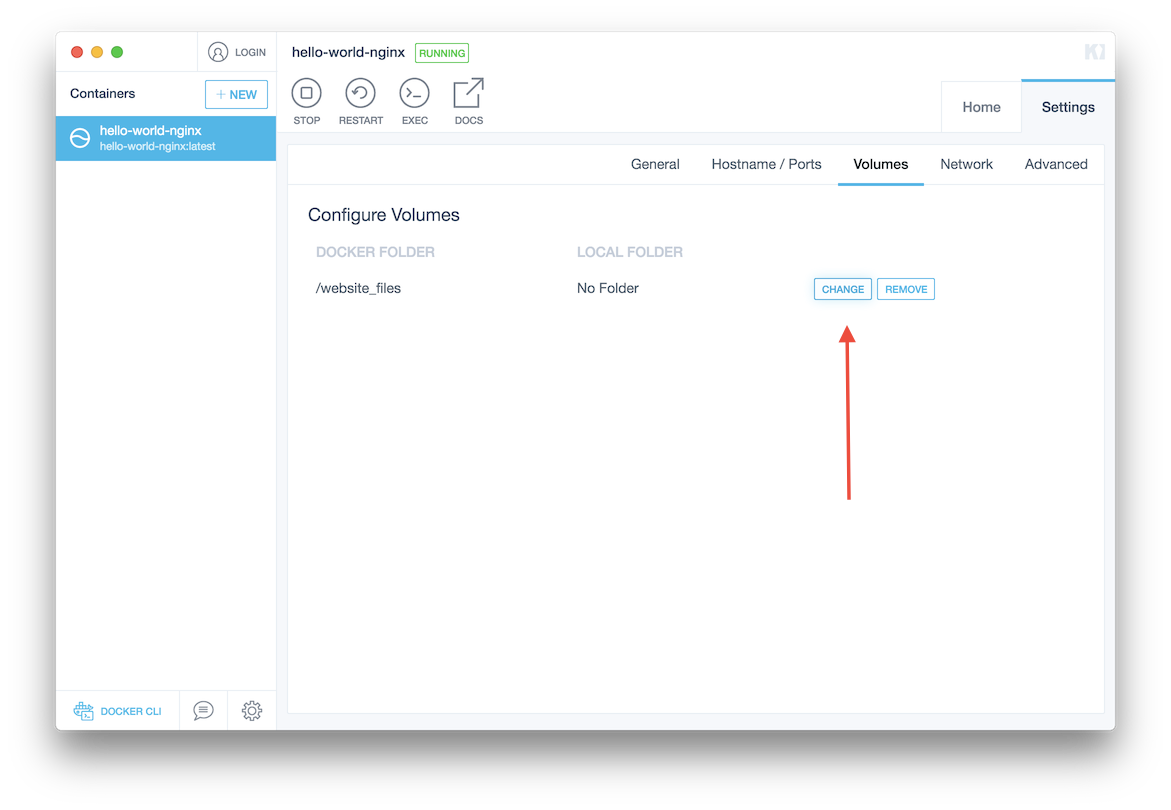
Note: When you “Change Folders”, the Docker container is stopped, removed and re-created with the new
volumesflag.
Setting the container name
By default, Kitematic sets the container name to the same as the image name (or
with a -<number> if there are more than one.
To simplify administration, or when using container linking or volumes, you may
want to rename it.
Note: When you rename the container it is stopped, removed and re-created with the new name (due to the default volumes mapping).
Adding Environment variables
Many images use environment variables to let you customize them. The “General” “Settings” tab allows you to add and modify the environment variables used to start a container.
The list of environment variables shows any that have been set on the image
metadata - for example, using the ENV instruction in the Dockerfile.
When you “Save” the changed environment variables, the container is stopped, removed and re-created.
Delete container
On the “General” “Settings” tab, you can delete the container. Clicking “Delete Container” also stops the container if necessary.
You can also delete a container by clicking the X icon in the container list.
Kitematic prompts you to confirm that you want to delete.
List the exposed Ports and how to access them
To see the complete list of exposed ports, go to “Settings” then “Ports”. This page lists all the container ports exposed, and the IP address and host-only network port that you can access use to access that container from your macOS system.
Docker Command-line Access
You can interact with existing containers in Kitematic or create new containers via the Docker Command Line Interface (CLI). Any changes you make on the CLI are directly reflected in Kitematic.
To open a terminal via Kitematic, just press the whale button at the bottom left, as shown below:

Example: Creating a new Redis container
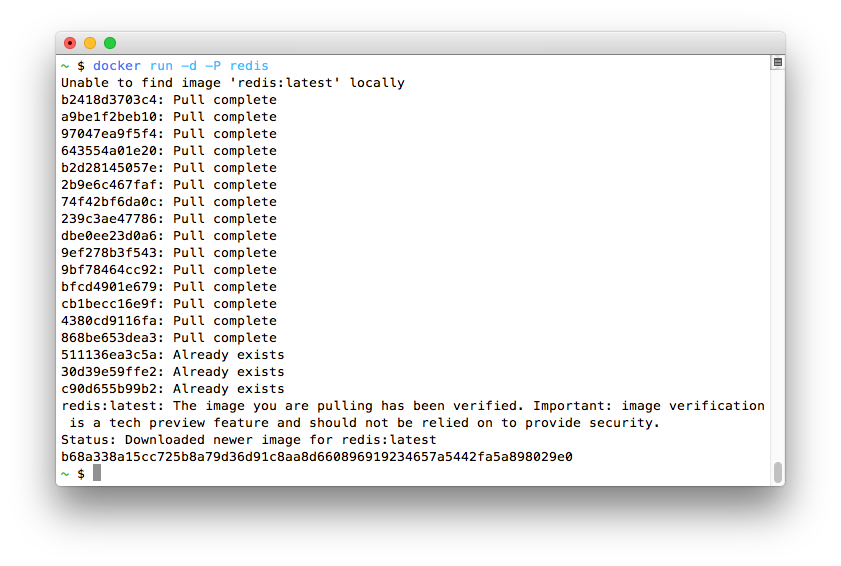
Start by opening a Docker-CLI ready terminal by clicking the whale button as
described above. Once the terminal opens, enter docker run -d -P redis. This
pulls, creates, and runs a new Redis container via the Docker CLI.
Note: If you’re creating containers from the command line, use
docker run -dso that Kitematic can re-create the container when settings are changed via the Kitematic user interface. Containers started without-dfails to restart.
Now, go back to Kitematic. The Redis container is now visible.

Next Steps
For an example using Kitematic to run a Minecraft server, take a look at the Minecraft server page.
docker, documentation, about, technology, kitematic, gui