Install Docker Desktop on Windows Home
Estimated reading time: 5 minutesYou can now install Docker Desktop on Windows Home machines using the WSL 2 backend. Docker Desktop on Windows Home is a full version of Docker Desktop for Linux container development.
This page contains information on installing Docker Desktop on Windows 10 Home. If you are looking for information about installing Docker Desktop on Windows 10 Pro, Enterprise, or Education, see Install Docker Desktop on Windows.
Docker Desktop on Windows Home offers the following benefits:
- Latest version of Docker on your Windows Home machine
- Install Kubernetes in one click on Windows Home
- Integrated UI to view and manage your running containers
- Start Docker Desktop in less than ten seconds
- Use Linux Workspaces
- Dynamic resource and memory allocation
- Networking stack, support for http proxy settings, and trusted CA synchronization
For detailed information about WSL 2, see Docker Desktop WSL 2 backend
What to know before you install
System Requirements
Windows 10 Home machines must meet the following requirements to install Docker Desktop:
- Install Windows 10, version 2004 or higher.
- Enable the WSL 2 feature on Windows. For detailed instructions, refer to the Microsoft documentation.
-
The following hardware prerequisites are required to successfully run WSL 2 on Windows 10 Home:
- 64 bit processor with Second Level Address Translation (SLAT)
- 4GB system RAM
- BIOS-level hardware virtualization support must be enabled in the BIOS settings. For more information, see Virtualization.
- Download and install the Linux kernel update package.
Note
Docker supports Docker Desktop on Windows based on Microsoft’s support lifecycle for Windows 10 operating system. For more information, see the Windows lifecycle fact sheet.
What’s included in the installer
The Docker Desktop installation includes Docker Engine, Docker CLI client, Docker Compose, Notary, Kubernetes, and Credential Helper.
Nested virtualization scenarios, such as running Docker Desktop on a VMWare or Parallels instance might work, but there are no guarantees. For more information, see Running Docker Desktop in nested virtualization scenarios.
Install Docker Desktop on Windows 10 Home
-
Double-click Docker Desktop Installer.exe to run the installer.
If you haven’t already downloaded the installer (
Docker Desktop Installer.exe), you can get it from Docker Hub. It typically downloads to yourDownloadsfolder, or you can run it from the recent downloads bar at the bottom of your web browser. -
When prompted, ensure the Enable WSL 2 Features option is selected on the Configuration page.
-
Follow the instructions on the installation wizard authorize the installer and proceed with the install.
-
When the installation is successful, click Close to complete the installation process.
Start Docker Desktop
Docker Desktop does not start automatically after installation. To start Docker Desktop, search for Docker, and select Docker Desktop in the search results.
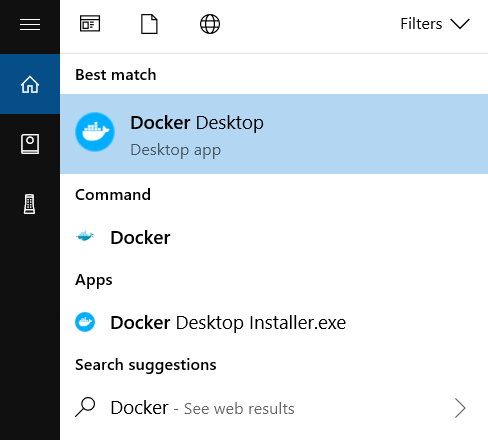
When the whale icon in the status bar stays steady, Docker Desktop is up-and-running, and is accessible from any terminal window.
![]()
When the initialization is complete, Docker Desktop launches the onboarding tutorial. The tutorial includes a simple exercise to build an example Docker image, run it as a container, push and save the image to Docker Hub.
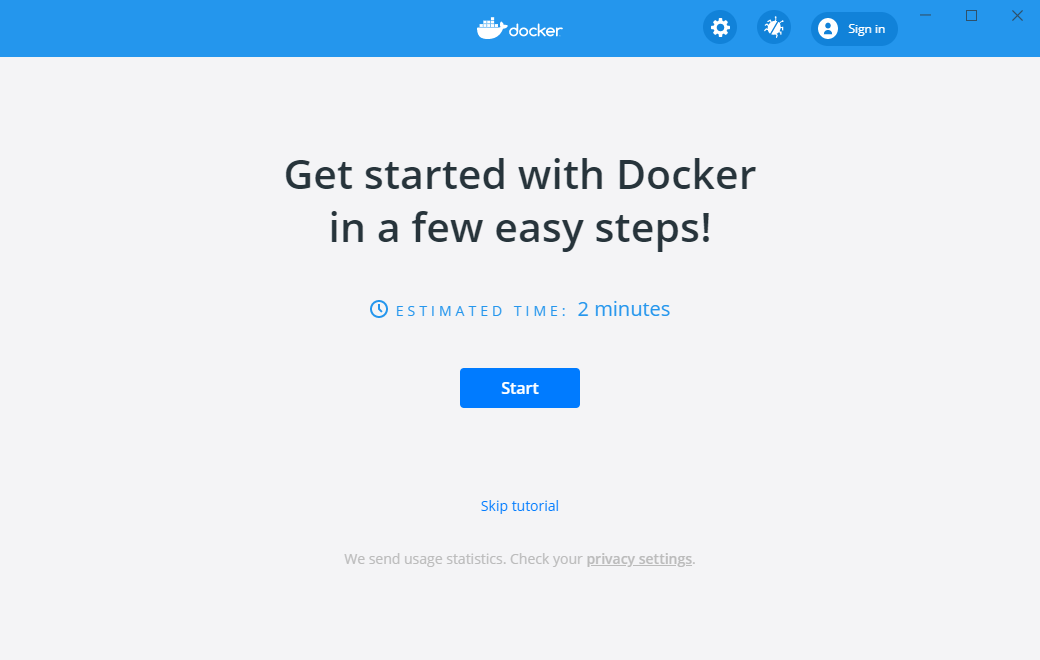
Congratulations! You are now successfully running Docker Desktop on Windows Home.
Uninstall Docker Desktop
To uninstall Docker Desktop from your Windows Home machine:
- From the Windows Start menu, select Settings > Apps > Apps & features.
- Select Docker Desktop from the Apps & features list and then select Uninstall.
- Click Uninstall to confirm your selection.
Note
Uninstalling Docker Desktop will destroy Docker containers and images local to the machine and remove the files generated by the application.
Switch between Stable and Edge versions
Docker Desktop allows you to switch between Stable and Edge releases. However, you can only have one version of Docker Desktop installed at a time. Switching between Stable and Edge versions can destabilize your development environment, particularly in cases where you switch from a newer (Edge) channel to an older (Stable) channel.
For example, containers created with a newer Edge version of Docker Desktop may not work after you switch back to Stable because they may have been created using Edge features that aren’t in Stable yet. Keep this in mind as you create and work with Edge containers, perhaps in the spirit of a playground space where you are prepared to troubleshoot or start over.
To safely switch between Edge and Stable versions, ensure you save images and export the containers you need, then uninstall the current version before installing another. For more information, see the section Save and Restore data below.
Save and restore data
You can use the following procedure to save and restore images and container data. For example, if you want to switch between Edge and Stable, or to reset your VM disk:
-
Use
docker save -o images.tar image1 [image2 ...]to save any images you want to keep. See save in the Docker Engine command line reference. -
Use
docker export -o myContainner1.tar container1to export containers you want to keep. See export in the Docker Engine command line reference. -
Uninstall the current version of Docker Desktop and install a different version (Stable or Edge), or reset your VM disk.
-
Use
docker load -i images.tarto reload previously saved images. See load in the Docker Engine. -
Use
docker import -i myContainer1.tarto create a file system image corresponding to the previously exported containers. See import in the Docker Engine.
For information on how to back up and restore data volumes, see Backup, restore, or migrate data volumes.
Where to go next
- Getting started introduces Docker Desktop for Windows.
- Get started with Docker is a tutorial that teaches you how to deploy a multi-service stack.
- Troubleshooting describes common problems, workarounds, and how to get support.
- FAQs provides answers to frequently asked questions.
- Stable Release Notes or Edge Release Notes.